
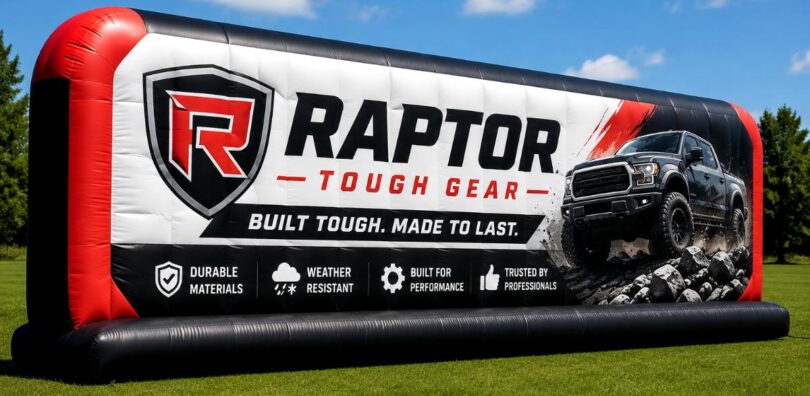

Advertising inflatables represent a real investment. Ignore storage, and you’re looking at cracked seams, degraded fabric, and an inflatable that’s headed for the trash way too early. Pull out a tube man or inflatable arch in spring only to find mold and pinhole leaks from winter? That’s the kind of expensive lesson nobody wants to learn. This guide covers what actually matters when storing advertising inflatables, so yours stays ready for events, season after season.
Preparation Steps Before You Store Your Inflatable
Storage begins before the inflatable even hits the ground. What you do right after deflation (especially cleaning and moisture control) makes the difference between pulling out a flawless inflatable or one covered in damage. Protecting your investment starts with the prep work below, whether you’re working with a simple design or exploring low-price inflatable advertising design options.
Clean It Thoroughly Before Packing It Away
Dirt, dust, bird droppings, and food residue don’t just sit on the surface. They break down the material’s coating, introduce mold spores, and attract pests that’ll chew right through the fabric. Grab a soft cloth or sponge with mild soap and warm water. Skip the bleach or solvent-based cleaners; they’ll degrade vinyl or nylon fast.
Pay special attention to:
- Seam lines (grime collects there)
- Anchor points and tether loops
- Blower attachment ports (moisture gathers here after deflation)
Once you’ve wiped it down, let it air-dry completely in a shaded spot away from direct sun. UV hits the material at this point, and you’ll see bleaching plus stiffening before you’ve even started folding. Two to four hours minimum; longer in humid conditions. You need zero moisture before folding.
Deflate Slowly and Inspect for Damage First
Yanking out the blower while pressure’s still there? That’s one of the most overlooked storage mistakes. Uneven seam stress and micro-tears follow. Open the valves fully and let the structure lose pressure gradually before you manually push air out.
As it flattens, check systematically:
- Small punctures or pinhole tears near seams
- Printed graphics for peeling or cracking
- The blower sleeve is fraying
Patch any small tears before storage. It costs almost nothing now; an untreated puncture becomes a bigger split once it’s folded in a bag. Your manufacturer probably included a vinyl repair kit, and patches take under ten minutes to apply.
How to Fold and Store an Advertising Inflatable Correctly
Folding technique matters more than you’d think. Poor folding creates permanent creases that weaken the material and crack graphics over time. This is where long-term storage damage usually happens, and also where you can prevent it most easily.
The Right Folding Method for Long-Term Storage
Start at the far end and fold inward toward the blower. Trapped air comes out naturally as you go, not trapped in pockets that create pressure points. Use large, flat sections instead of tight accordion folds. Tight folds stress material at the crease; over months of compression, cracking follows.
Here’s the process:
- Lay the deflated inflatable flat on a clean, dry surface
- Fold the far end into thirds lengthwise; keep fold lines broad and loose
- Roll the body loosely toward the blower sleeve (don’t fold again)
- Don’t stack heavy items on the rolled inflatable
Rolling tends to work better than repeated flat-folding for vinyl because pressure spreads evenly across the material and you get fewer hard crease points. Put the folded inflatable into its original storage bag or a breathable canvas bag. But skip sealed plastic bags; they trap residual moisture and mildew wins.
Choose the Right Storage Environment
Location matters just as much as folding. Vinyl gets brittle in cold below 40 degrees Fahrenheit and breaks down faster in sustained heat above 100 degrees. Climate control is your best bet, though a dry, shaded garage or basement works fine for most of the year in temperate climates.
Keep these factors in mind:
- Relative humidity under 60 percent (prevents mold)
- Keep the inflatable off concrete (transfers moisture and cold)
- Store away from sharp objects, tools, and rough shelving
- Avoid spaces with rodent activity
Place the bag on a wooden pallet or shelf, elevated a few inches above the floor. No climate control in your storage space? A dehumidifier in the same room helps significantly. Check on it every four to six weeks during long-term storage, especially if humidity shifts seasonally. Five minutes of looking can catch mold before it spreads across the whole surface.
Conclusion
The easiest way to extend an advertising inflatable’s lifespan is through proper storage. Clean it thoroughly, let it dry completely, deflate gradually, inspect for damage, fold without tight creases, and store it in a dry, temperature-stable environment off the ground. None of this is complicated, but skip even one step, and you’ll create problems that pop up right before your next event. Follow the full process, and you’ll know how to store an advertising inflatable without damaging it, getting years of solid use from the same unit.