
Crimping connectors is one termination method that professionals use to establish strong and reliable electrical connections. Proper crimping is essential when working with cavity connectors to maintain electrical integrity and avoid potential failures. This guide covers the best practices you need to know when using crimpers on cavity connectors, ensuring your work stays consistent and safe.
Use the Right Tools for the Job
Professionals know the first step in successful crimping is selecting the proper tools. A high-quality crimper specifically designed for cavity connectors is a must. Generic crimpers might compromise the crimping process and reduce connection strength.
You’ll also need wire strippers to prep your wires, and if you’re working on intricate electrical setups, precision pliers can help handle delicate components. Always inspect your tools for wear or damage before beginning any work. Faulty tools lead to subpar results.
Prep Your Wire and Connector the Right Way
Preparing the wire and connector before crimping is essential. Start by cutting the wire to the required length with no rough or uneven edges. Strip the insulation carefully to expose only the necessary amount of conductor for your cavity connector. Over-stripping or damaging exposed copper can lower the integrity of the connection.
Next, align the wire to the connector, ensuring the strands fit snugly within the cavity. A misalignment here can disrupt the crimp quality.
Master Proper Technique With the Crimper
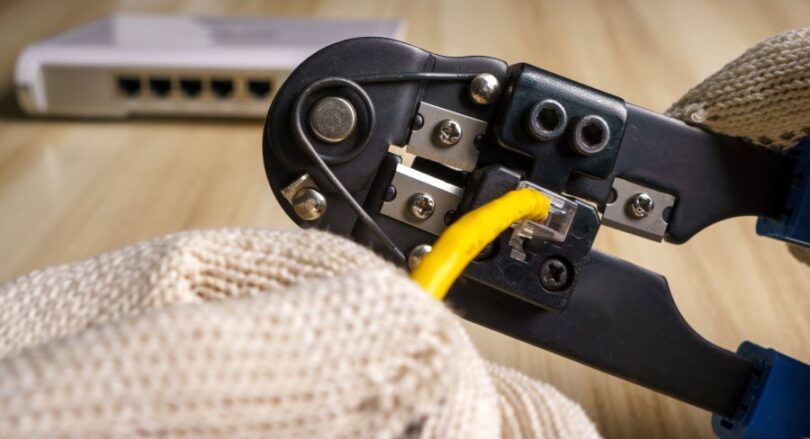
Since crimping is one termination method used on connectors, you need to make sure you’re using the right technique. Begin by positioning the wire and cavity connector in the crimper’s die exactly as specified by the tool manufacturer. Align the tool to cover the compression area, resulting in uniform pressure.
Squeeze the handles firmly but not excessively, as improper pressure can deform the connector, potentially leading to loose or failed connections. Practice will help you apply just the right amount of force every time.
Know What To Avoid
There are several common mistakes people make while crimping cavity connectors. Avoid collapsing the connector by using crimpers not suited to the connector type. Skipping the stripping preparation steps can result in damaged wires.
Likewise, applying uneven or insufficient pressure can lead to unreliable crimps. Paying attention to detail differentiates between a weak crimp and long-lasting electrical performance.
Tips To Achieve Reliable Results
For consistent, high-quality crimping, double-check the precision of your work as you go. After each crimp, gently tug the connector to confirm it grips the wire securely. Examine the crimp for visual flaws, such as cracks in the connector or wire strands outside the connector’s cavity.
Using connectors from trusted brands ensures compatibility with your crimping tools, offering greater confidence during installation. Attention during these final checks solidifies the work’s quality.
Proper crimping practices when working with cavity connectors translate directly to the longevity and effectiveness of your electrical setup. Poor craft leads to weak connections, potential device failures, and costly repairs. On the other hand, choosing the right tools, preparing your materials properly, and avoiding mistakes build connections that perform reliably over the long term. Start incorporating these tips into your workflow, and your electrical projects will deliver top-tier performance every time.