

By now, you’ve likely seen the Moka pot all over your FYP and questioned, “Is this for me?” The Moka pot is a trusted classic that has earned a staple spot in kitchens worldwide. Revered for its ability to create rich, espresso-like brews on a stovetop, it’s an accessible way to enjoy high-quality coffee without investing in expensive equipment. Espresso? Affordable? Yes.
Whether you’re a novice or looking to refine your skills, this guide covers the ins and outs of using a Moka pot for coffee and how to get the perfect cup every time.
Choose the Right Moka Pot
Before you even begin brewing, selecting the right Moka pot is vital. Moka pots come in various sizes, typically measured by the number of espresso cups they produce, such as 1-cup, 3-cup, or 6-cup models. Smaller sizes are great for individual use, while larger options are ideal for families or sharing a pot with friends.
When choosing yours, also consider the material. Aluminum Moka pots, like the iconic Bialetti design, are lightweight and heat up quickly. In contrast, stainless steel options are more durable, require less maintenance, and are typically induction stovetop compatible.
Grind Your Coffee
The grind size is crucial for achieving the best results with a Moka pot. Unlike espresso, which uses fine grounds, or French press coffee, which relies on coarse grounds, the Moka pot requires a medium-fine grind. Too fine, and the coffee will clog the filter and over-extract, leaving you with a bitter brew. Too coarse, and the water will flow through too quickly, resulting in weak coffee.
A burr grinder is the most reliable tool to achieve consistent grind size and ensure even extraction. And remember, always choose the right coffee for your brewing method to make sure the flavors align with your expectations.
Fill the Moka Pot
Filling the Moka pot correctly is an often overlooked but very important step. Begin by filling the bottom chamber with water, stopping just below the safety valve. Using preheated water can speed up the brewing process and reduce over-extraction.
Next, fill the coffee basket with your medium-fine grounds, making sure to level them off without packing them down. Over-tamping the coffee might lead to excessive pressure buildup, which impacts flavor and could compromise safety.
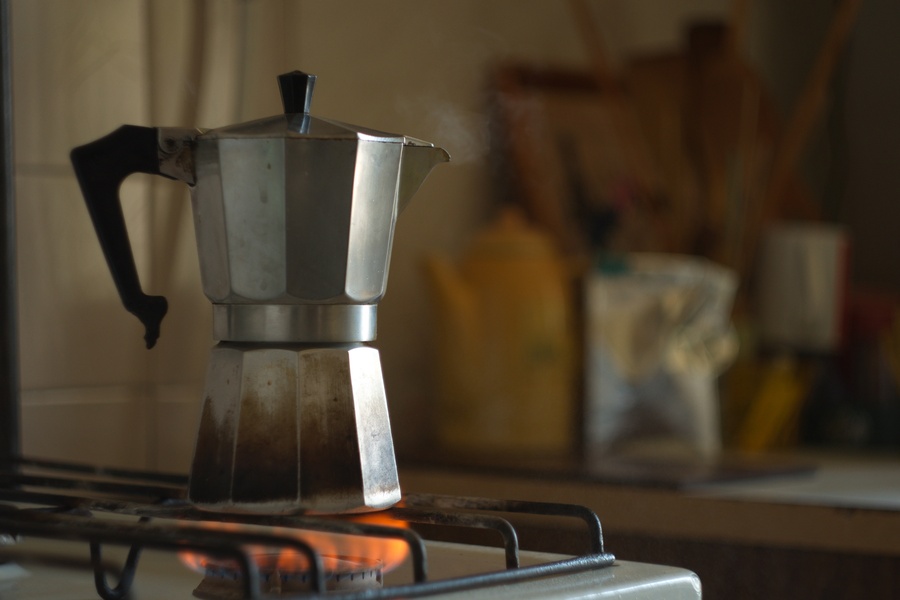
Brew Your Coffee
Brewing with a Moka pot involves a careful balance of heat and timing. Assemble the pot securely, ensuring all parts fit securely to prevent leaks. Place it on medium heat; a low, steady temperature allows the coffee to brew evenly.
Keep the lid open and listen carefully for the gentle gurgling sound that signals the start of the brewing process. Once the top chamber reaches about 80 percent full, remove the pot from the heat. Allow the residual heat in the pot to finish brewing the remaining coffee without risk of burning it.
Perfect Your Technique
Mastering the Moka pot requires careful attention to detail, especially when avoiding common mistakes. For starters, don’t rush the brewing process by using high heat; this often results in scorched coffee with a metallic taste.
Similarly, pay attention to the water level and the grind size, as improper preparation in these areas directly affects your brew’s flavor and aroma. Adjust small variables, such as heat level and grind consistency, for different beans to find what works best.
The Moka pot can seem intimidating at first, but a little practice goes a long way. It delivers a bold, rich brew, but it’s also a cost-effective and simple way to enjoy coffee without the need for a high-end espresso machine. If you’re ready to start using a Moka pot, let these ins and outs be your guiding light.